

We nest when our babies first come home and we nest when they leave. What does this have to do with a guest bedroom? This year my first born is graduating from High School and for some crazy reason I feel the need to make sure my house is prepared for the guests that are coming to celebrate.
So any reasonable thought is to start with the guest bedroom, right? Alright, truth, it's begging to be finished. Last week, I showed you all the bedroom in it's before state, you can find it here Guest Bedroom Restyled part 1. I know, it wasn't pretty. But I do plan to redeem my lack of love and better picture taking skills.
So here it goes..
Let me remind you of the mood board for it.
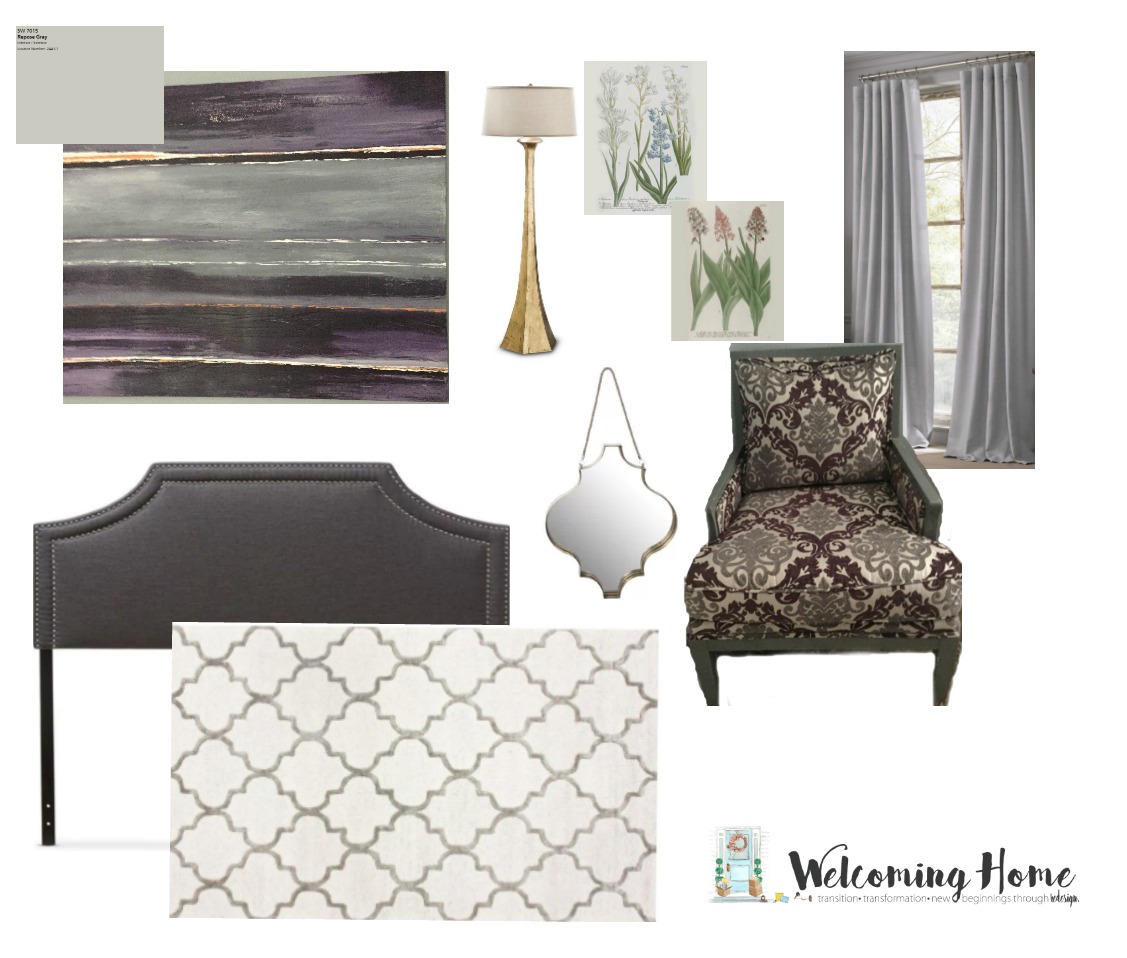
So as I started out decorating this room, the plan was to use the existing furniture but add other layers all within a $500 budget. That's why I say restyled, not updated. Goal, use existing pieces with intentional style. That's what I enjoy about my job, helping others do this, it's a great way to save money but enjoy the space again.
Here's what I'm working with, chairs, headboard, painting, bedding and bedside tables are all staying. Many of these items where custom made for my last guest room that didn't even get to be enjoyed. After it was finished being decorated it quickly got packed up for the move to Austin from Dallas.
When I began planning out this room I knew I needed a few key pieces.
- Curtains
- Rug
- Wall art
- Floor lamp
- New wall paint
- Bench for end of bed
- Light fixture
Ok first task that had to get completed before anything else, PAINT! I love to paint, how about you? However as I age, I'm quickly realizing my body doesn't like it as much. In order to keep my costs down, I decided to use some paint I already had on hand. Yay, free so far. The winner was Repose Grey by Sherwin Wiliams.

Next up, bench, another freebie. I had the childhood bench that I shared with you all in the last post, which can be viewed here, if you missed it... side note... there is crying. I know there's no crying in baseball but I think you can cry in decorating.
Typically, when I decorate a room I like to get my rug figured out before I start thinking about wall art but I found these mirrors at Homegoods and the price was so good at $49. You can find the exact mirror here at Wayfair. The shape was perfect to play off the bed.

Wall art can enhance the overall look of a room, that is why when considering the feel of a room think about using it to bring your color choices out more.
Gallery walls are popular right now but so are botanical prints. I just so happen to know the perfect spot for both, right above my chairs. I've got a friend that's a blogger too and I couldn't wait to use her spring prints she has for her VIP followers.
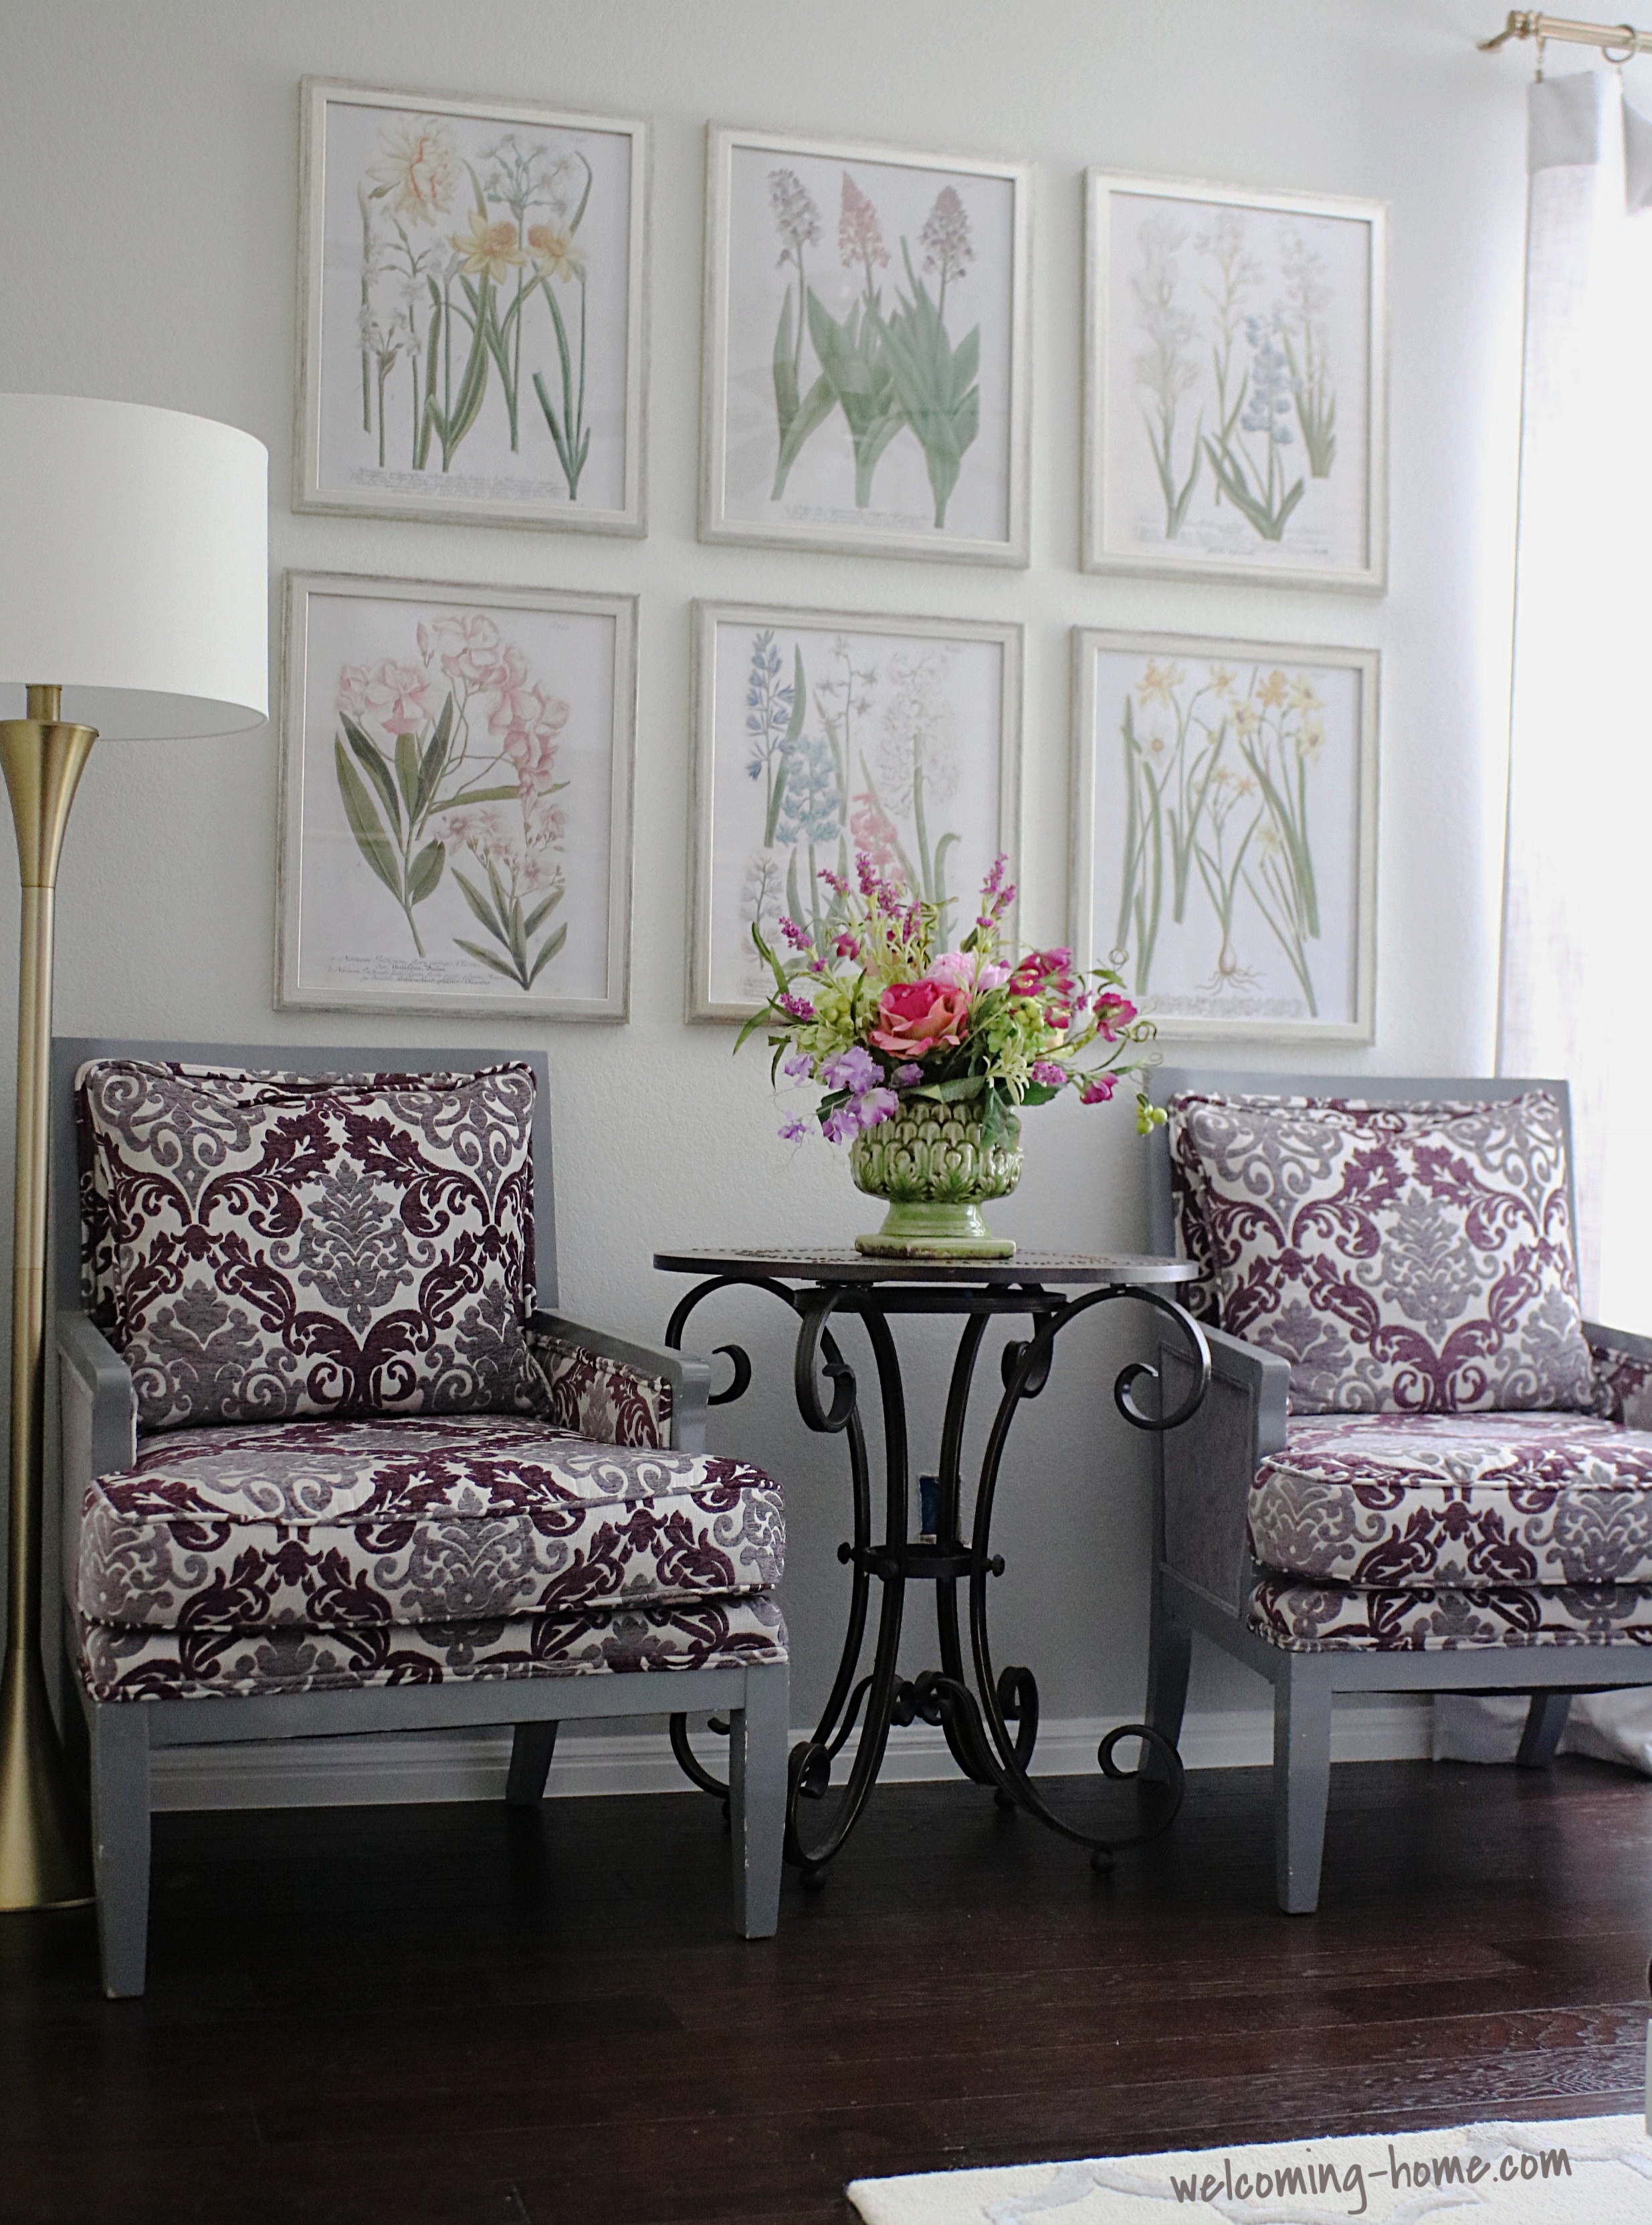
You're going to fall in love with her, if you don't already know her. She's pretty special in the decorating blog world. You can find Lauren at Bless'er House, just click on the link and it will take you the exact prints I used.


I found my frames at Hobby Lobby when they were on sale. I followed Lauren's suggestions to have it printed at Staples. So the size is exactly what she used.
I only spent $90 for the frames, $15 each and $12 for the prints

So far, I've got the wall art completed and bench, lighting is next.
Here you can see I found this gold floor lamp from Homegoods. You can find a similar one to mine here at Wayfair, which I almost think its the exact one, but I paid a lot less. This one was perfect with the style, color and size. It wasn't too short and went above the chairs without crowding them plus the sleek modern look gave the corner the vibe I was going for.
The lighting on the beside tables I already had. In the room was a different pair of lamps but I just felt the shape and height of these allowed the mirrors to still be seen.

In addition to lamps I was hoping to get a new chandelier to take the place of the fan, but it's going to have to wait. I went over my budget because I found this floral piece from Hobby Lobby and it was $60. I just couldn't pass it up. The florals used, help to tie all the colors to the room. Don't you think?

If your following along I've checked off these from my list, wall paint, bench, wall art, lighting and what's left is curtains plus rug.
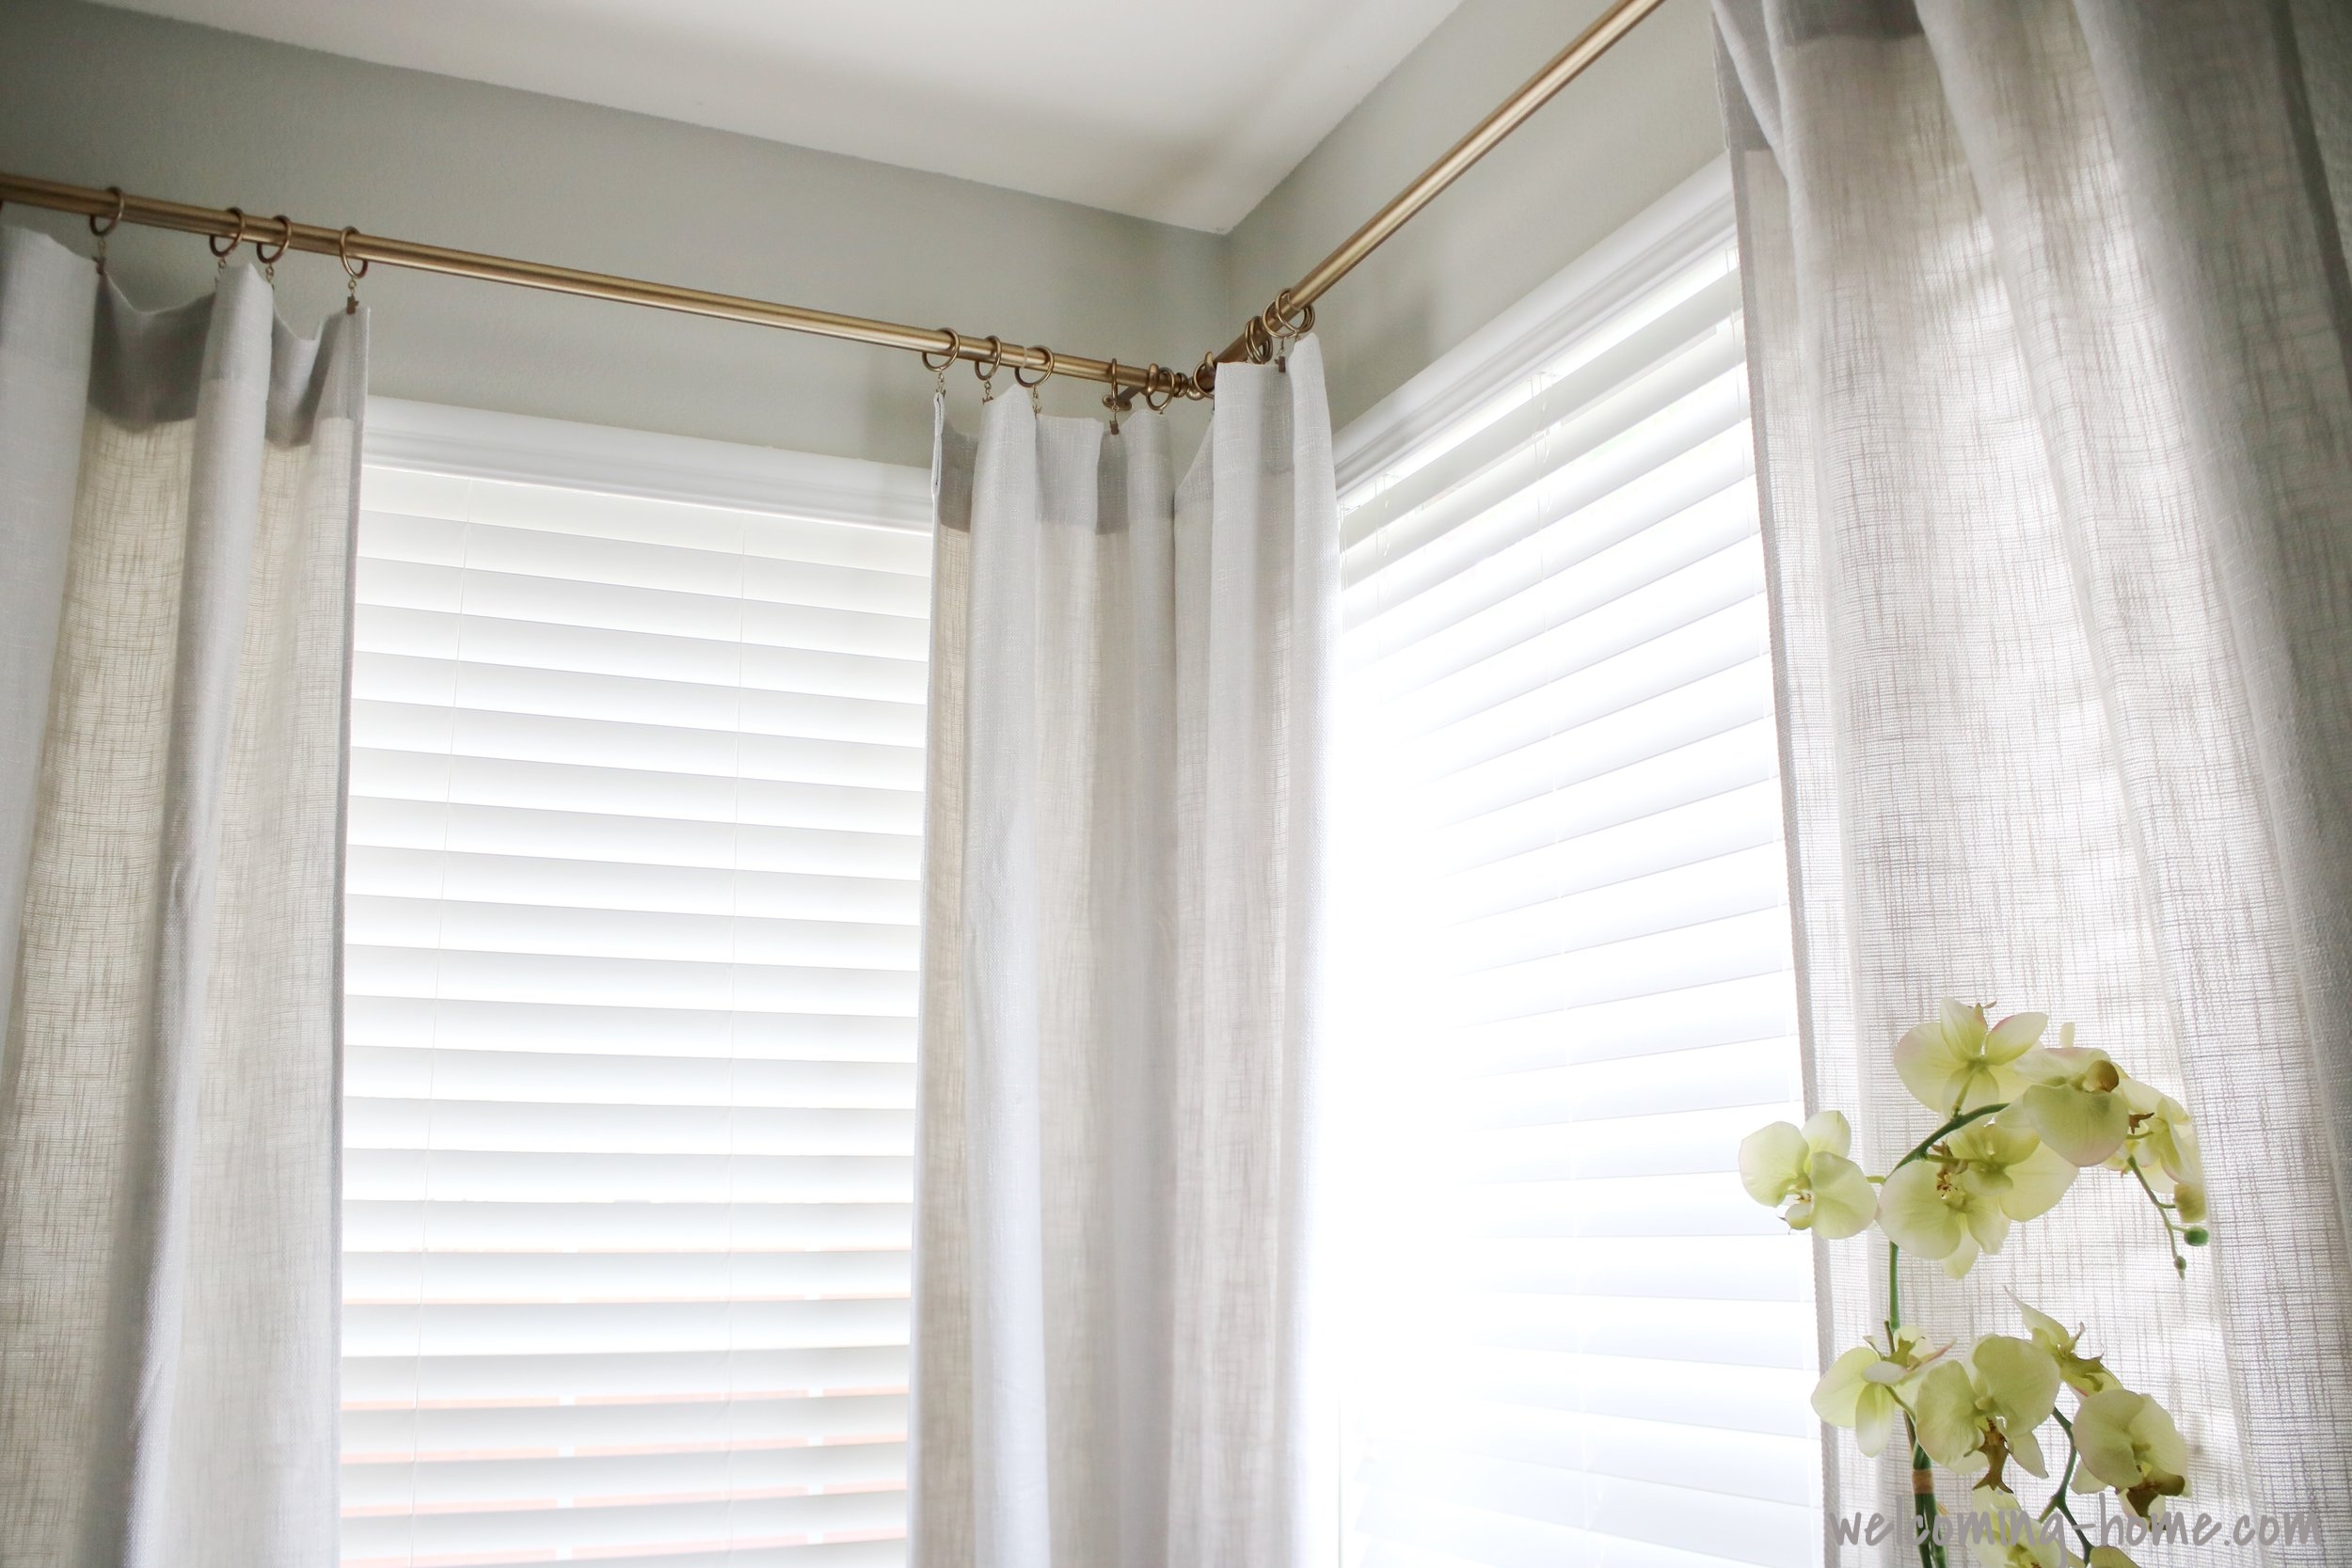
Are you ready to talk curtains? The curtains I got weren't what I exactly wanted but what you want sometimes is more expensive than the budget. My heart screams Belgian Linen but the pocket book says NO WAY Hosea! So I was on the hunt. I looked everywhere online, outlet stores, homegoods and many trips to some of the same stores over a 2 week time frame.
One of the dilemmas I was facing is I really would had preferred bringing my curtains up a little higher which meant instead of 96" the 108" would be ideal. I toyed around with buying some and adding a custom hem to give it the length but wasn't having the luck finding that either. I ultimately found some at Tuesday Morning that had a linen look although not the length. They weren't lined either, which this was important to me. So I went online to Amazon and bought some curtain liner along with weights to help it hang prettier. Now ask me if I've done that yet? Sadly no, but I promise to document it when I do and tie in a link to here once completed. Maybe I can show you the chandelier when I get that purchased and hung.
Side note, if your looking for some real good quality decorators rods, I highly suggest going to Bed Bath and Beyond. That's where I found these AWESOME gold curtain rods.

Last product to make this room restyle complete and the Piece de Resistance, the rug. Yay, another challenge!

I ended up locating this rug from Hayneedle. When planning out my rug, the size needed to be between 9'x7'ish. Rugs can sometimes fall a little over those measurements. With that in mind I knew I couldn't go up to 8x10. This would be too large for the space. Size, comfort, plushness and color all were factors in shopping for that perfect rug.
If you look at the quarterfoil shape within the rug, well that was a bonus, for bringing in the mirror's shape down to the floor.

I'm really excited to have this room come together just by adding a few decorating items that took it from half done to minus the chandelier, almost done.
During the restyle I was given an opportunity to try out a few products by Downlite bedding. They graciously sent me some pillows and the down comforter in my white duvet on the bed. The pillows are amazing quality. If you're looking for hotel quality pillows that won't go down in it's fluffiness or a down comforter that's perfect for all temperatures. Check out Downlite bedding for your bed's needs. I'm really impressed with the quality and pricing. They also gave me a discount code to share with you. LBGEN15 for 15% off your order
As always I'm so glad you stopped by, thank you for following my guest bedroom restyle.
Would love for you to follow me on instagram and facebook, where I give daily inspiration in ways you too can have a welcoming home.
Till next week!

